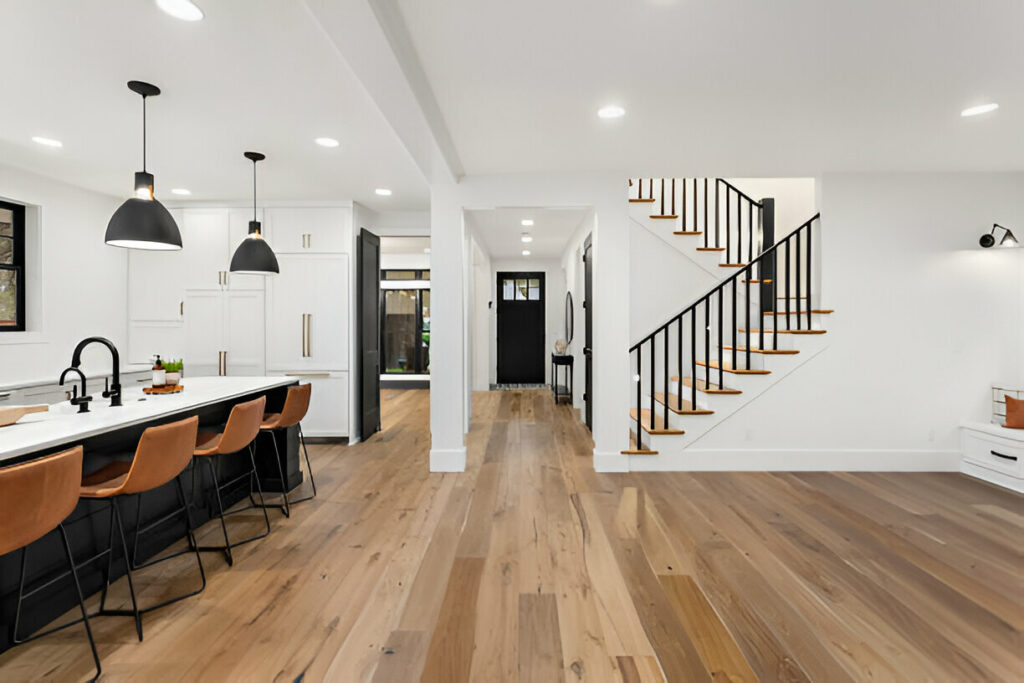
- Tools and Materials Preparation:
- Hardwood Planks: Choose the desired type and style of hardwood flooring.
- Underlayment: Select a suitable underlayment, such as foam or felt, appropriate for your flooring needs.
- Adhesive or Nailing System: Decide between nail-down or glue-down systems based on ease and preference.
- Tools: Gather necessary tools, including a saw, measuring tape, drill, protective gear (gloves, safety glasses, dust mask), and possibly an expansion bar.
- Floor Preparation:
- Check Subfloor: Ensure the subfloor is level and free of debris. Repair any uneven areas by sanding or applying leveling compound. Remove any nails or protrusions that could damage the new flooring.
- Layout and Planning:
- Direction of Planks: Decide on the direction of the planks. Installing them in the same direction as the room’s longest wall can make the room look longer, but feel free to experiment with a perpendicular layout for a different aesthetic.
- Starting Point: Begin in one corner, leaving space for expansion around the walls. Use shims to create a small gap between the first row and the walls.
- Installation Process:
- Lay Underlayment: Install the chosen underlayment covering the entire subfloor, ensuring it is smooth and free of wrinkles.
- Lay the First Row: Carefully place the first row, aligning it straight and ensuring it is level. Use clamps or weighted objects to keep it in place while working on subsequent rows.
- Continue Laying Planks: Work row by row, ensuring each plank fits snugly and aligns with the previous one. Use a tapping tool to gently adjust planks without marring them.
- Trimming and Finishing:
- Cutting Planks: Cut planks precisely using a saw. Practice a few cuts beforehand to ensure accuracy.
- Trimming Edges: After laying all planks, trim any excess underlayment and ensure edges are smooth.
- Apply Finish: Sand the floor to smooth out any rough spots. Apply a protective finish or stain to enhance the wood’s appearance and durability.
- Final Touches:
- Expansion Gaps: Ensure proper expansion gaps around walls and obstacles to accommodate wood movement due to temperature changes.
- Clean Up: Sweep and vacuum the floor to remove sawdust and debris.
- Safety and Considerations:
- Wear Protective Gear: Use gloves, safety glasses, and a dust mask during installation.
- Ventilation: Ensure good ventilation when using adhesives or finish products.
- Time Management: Plan for adequate time, considering the complexity of the project and your experience level.
- Seeking Assistance:
- If lifting or installation becomes too cumbersome, consider enlisting a friend for help to make the process easier and safer.
By following these steps, you can successfully install hardwood flooring in your home, creating a beautiful and durable addition to your living space.


